Over the past couple of months I have been working on several different craft projects and I am just now getting around to posting them. One of the first things I made was a memo board for my room.
I made it using THIS tutorial from Moda Bake Shop, and I love the finished result. I tweaked the tutorial a little bit just cause a few of the steps I did differently and I used some different materials but overall it's pretty consistent with everything else. I used a charm pack from Fig Tree Quilts called Fresh Cottons, and I love the finished result!

I used a frame that has been laying around my parents garage for almost a year now and I figured if it hasn't been thrown away or used yet then it was fair game for me to have. I toyed with the idea of painting it, but in the end I am glad that I didn't because I love the contrast of the wood grain against the fabrics.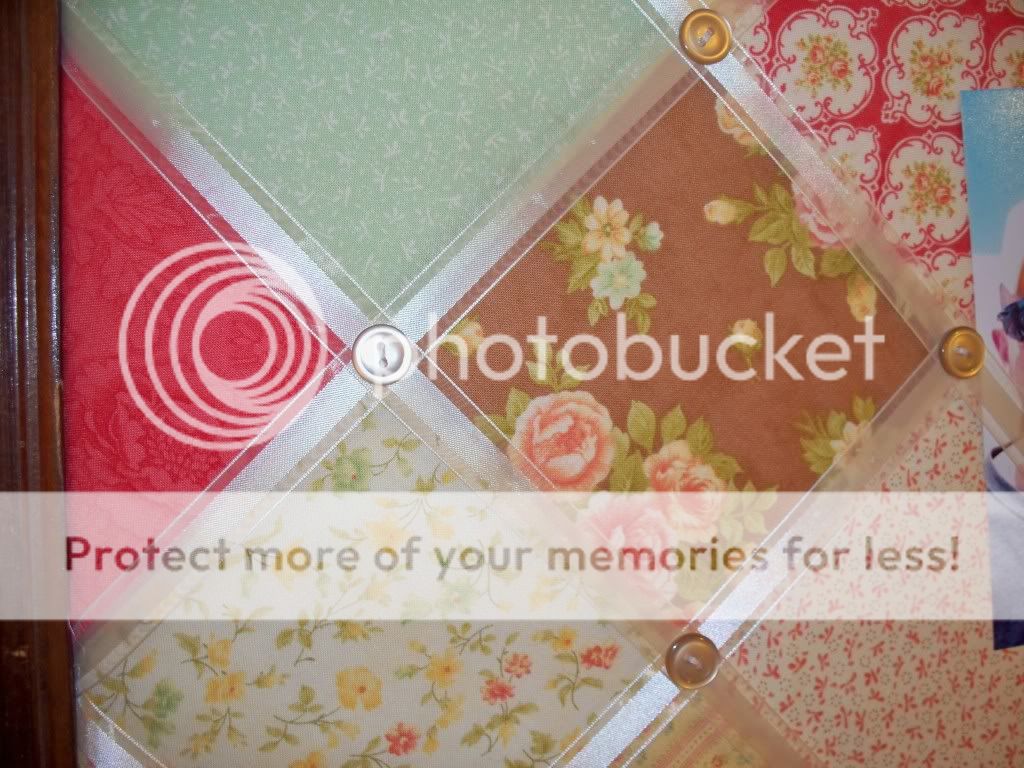
The hardest part of the project was making sure that the ribbon stayed taught enough so that it would hold the photographs when it was all finished, but they all turned out the perfect tightness except for one that is in the bottom corner so it's kinda hidden. I love the ribbon I ended up using because it covers the seams from where I sewed the charm squares together but the edges are sheer so it gives it a cute little effect.
This picture isn't very true to color but it is a nice close up of both the ribbon and the buttons. In the tutorial it called for a variety of buttons but I liked the idea of them all being uniform and cohesive so I used the same buttons for all of the placed where the ribbons crossed.

I wish I would have taken in progress pictures but I always think about doing it after I have already completed the project. I pictures on the board are 4x6 so that gives you some idea of the scale of the whole thing. Also on the frame I mounted hanging brackets on both sides so that it could be hung either vertically or horizontally. I love this project and my mom has already hinted to wanting one for herself.


